


Software Services
SW Development | Application | Integrations | Maintenance & Support | Migrations | QA

Business Optimization
Sales Force Automation | Data Warehousing |
ERP Interfacing & Integration

Intelligent Automation
Robotic Process Automation | Machine Learning | Artificial Intelligence

HR
Management & Payroll
True HR / dp-Payroll

Innovative Projects
RateWizz | CheckWizz | Medical Control Solution | Digital School Books | easyParking | easySkii

Payment Solutions
Contactless and paperless payment solution - MonePOS.

Fleet Management
Fleet Management Solution | Vehicle monitoring & fleet operations optimization
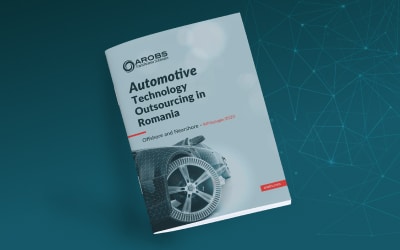
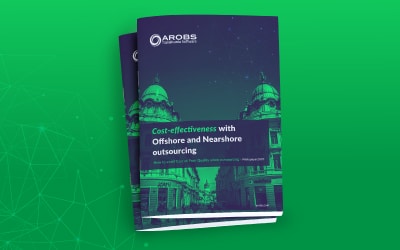
IT Outsourcing
Nearshore |
Offshore|


Andreas Posmeck,
Managing Director – GIATA Gmbh, Berlin, Germany
“We chose to work with the AROBS team because you proved to be the qualified developers that we were looking for. We highly appreciated the “hands-on and always looking forward” approach. ”

Niels Wouters, Rentyourcrane.nl
Finance manager
“AROBS is an easy-going but hard-working company with the capacity to deliver. We really appreciate the way they share their ideas and help you through the whole process ( …) Everything was casual and simple, so we truly recommend them.”
Peter Lyons,
D2 Creative
“The AROBS team’s flexibility and dedication to the project, and knowledge of different aspects of technologies, as well as their ongoing support, made our job so much easier when it came to building the portal and supporting our clients. Collaboration between our internal development team and AROBS’ team was effortless.”
Yamen Bendit, Overpass
Co-Founder & Chief Product Officer
"I was impressed by their dedication to delivering quality services and their overall flexibility. This was very important for us when looking to expand our team. The developers and QA team members from AROBS were able to easily work with our in-house team and contribute to the overall development flow."
Philippe Dennler
IT Business Partner for Engineering & Product management
"We had the chance to have with us in Obernai our partner AROBS Group for a review of our common activities. It was also the celebration of a 10 years successful partnership. Together we build business apps used by our colleagues from Sales, PM, engineering. We also had a long journey together on the development of Mobile applications for internal usage and used by our customers.
Hager Ready, the well-known application for electricians, is the result of this fruitful collaboration. (...)
Many thanks for this decade of support with all the other colleagues from AROBS.
Let us continue this adventure together."
Scott Powell
Founder & President of RYTEBOX
"We’re a software development consulting and engineering company, and we pride ourselves in being able to solve complicated business problems for our customers. We have worked with many companies over the years to help us scale and get geographic coverage. And you know, not many of those partnerships last very long. So, our partnership with AROBS is now more than a decade, and it’s because of, you know, a good match-up with people and culture and the ability to scale our team as we need to."
Matt Howard
CTO RYTEBOX
"It's easy to find developers. It's hard to find developers that can do the kinds of projects we get to do. We need people that kind of have experience with distributed systems or high-volume data processing, complex domains, and those are much harder to find. We've had a lot of success with AROBS being able to locate those people, train them up. Even I've been very impressed with their ability to find juniors and get them trained quickly, to find, you know, good people that have a solid foundation to build on top of and turn them into the seniors. So, it's been very successful."


IoT & Life Sciences
Project expertise:

Enterprise solutions
Project expertise:

RPA & Intelligent automation
Project expertise:
Berg Software
AROBS Engineering
Project expertise:
NordLogic Software
Project expertise: